Student Reports: PDF Options and Generation
At Learning Ladders we understand that flexibility and efficiency is key when producing student reports for parents. We've introduced new features to further bespoke the PDF version of a student report.
These features include:
- Template Cover Choice
- What the main colour of a student report is
- The number of ladders/subjects that are included on a page
- Ability to include a 'School Stamp' on the final page of reports
- How PDFs are generated
1. Template Choice
You can now chose between two front covers for any student report template. Below are the two choices.
Central Page Text (Shapes)
Lower Page Text (icons)
If you plan to change the cover of reports, ensure this change is made while student reports are in draft status. Changes to the cover option will only impact reports that are in draft status.
To change which template cover is used on your students' reports, navigate to Settings > Settings > Student Reports and choose the template you would like to amend. Towards the bottom right of the settings page within the General Settings section, there is a option called 'PDF Front Page Design Options'. Select the option you would like to use and 'Update Settings' when you are ready.
If you deactivate this toggle, it will not remove a front cover from student reports, but remove the options to amend the cover. In this case, the default cover will apply: Lower Page Text (icons) to Primary and Central Page Text (shapes) to EYFS.
2. Choose what the main colour for a PDF student report is
It's now possible to choose the main colour for a PDF version of student reports. This change will impact many of the standard components of a student report and below, are some illustrations of these components/changes.
Front Cover 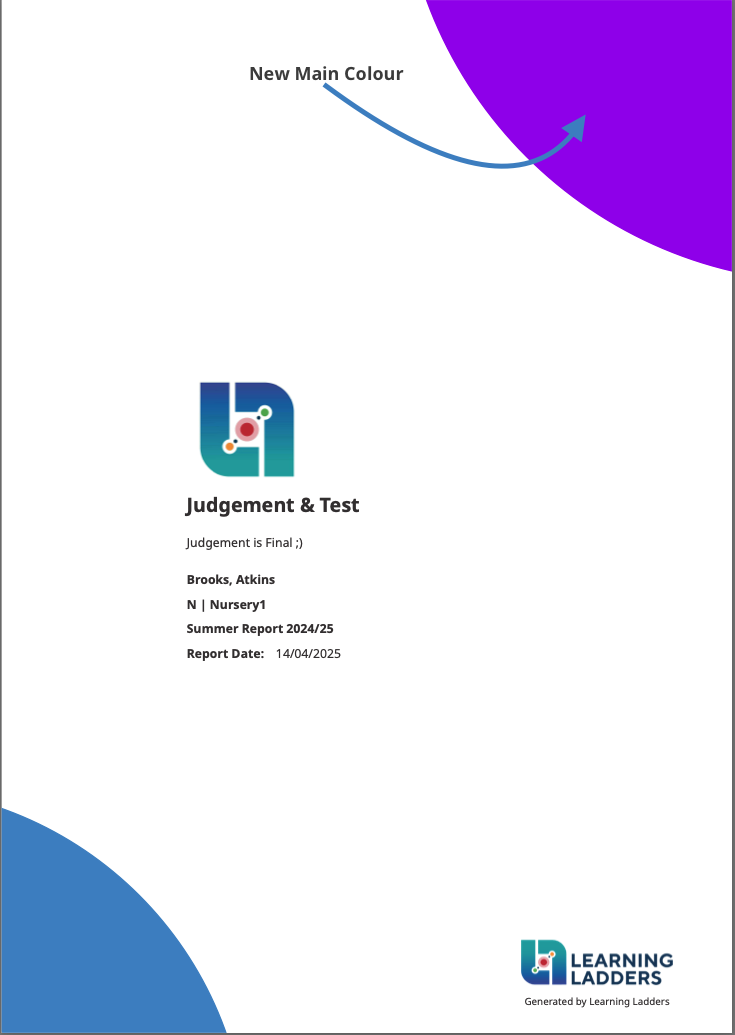 Inside Front Cover
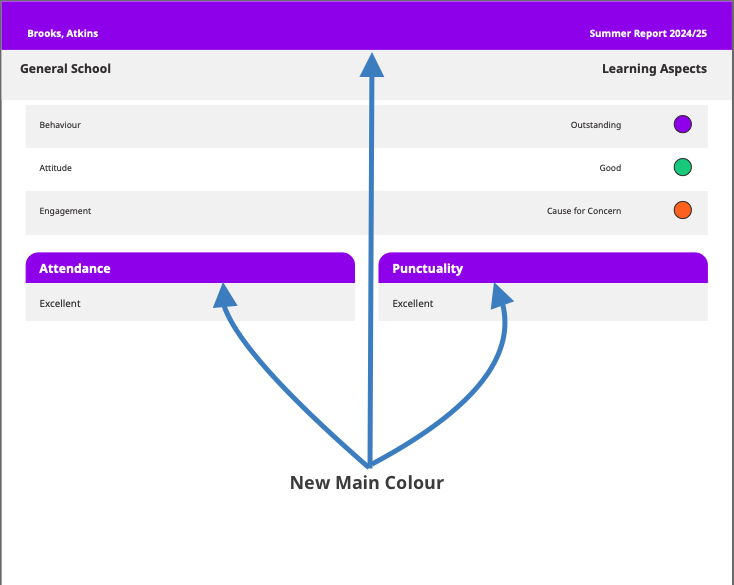
Ladders/Subject Page
Inside Back Cover
To make changes to the main colour of a PDF report, navigate to Settings > Settings > Student Reports and select the report template you would like to edit. Towards the bottom right of the page and in General Settings, the toggle and options are displayed as below.
Colour Selection Tool
- Selection Tool: this square will indicate what the current 'main' colour of a report is. To make a change, click on the coloured square and the default colours and Hex colour code will appear on screen
- Click on a colour you would like to use from the default colours, or you can use a Hex colour code.
- Hex colours are a method to choose a precise colour with almost limitless range and were first created to help website developers use the correct colour.
- There are a number of tools online to help find the colour and code you are looking for. One option is the W3Schools website, but if you have any issues with this, please contact support
A Hex colour is a 6 digit code with # at the front. eg #0000ff
Once you have made your selection, confirm the change by clicking 'Update Settings' at the bottom of the page.
3. The number of ladders/subjects that are included on a page
To give schools as much flexibility as possible with student report templates, its now possible to choose from 1, 2 or 4 subjects/ladders per page on the PDF version of a report.. With each of these choices, there are conditions or features that might be limited or disabled to ensure the specific set up will work. A full list of these details are below, with each option showing what will, will not and in cases where there might be a change to the text/character count, indication of what the maximum will be.
Short: 4 Ladders/Subjects Per Page | Medium: 2 Ladders/Subjects Per Page | Long: 1 Ladder/Subject Per Page | |
Front Cover | Yes | Yes | Yes |
Custom Modules | Yes (17 maximum) | Yes (17 maximum) | Yes (17 maximum) |
Attendance & Punctuality | Yes/No | Yes/No | Yes/No |
Judgements | Yes/No | Yes/No | Yes/No |
Teacher | Yes | Yes | Yes |
Strengths & Next Steps | 2 Each Maximum | 2 Each Maximum | 5 Each Maximum |
Ladder / Subject Comments | No | Yes (621 characters maximum) | Yes (2000 characters maximum) |
Evidence / Learning Example | No | Yes/No | Yes/No |
General Comment | Yes/No | Yes/No | Yes/No |
SLT Comment | Yes/No | Yes/No | Yes/No |
Pupil Comment | Yes/No | Yes/No | Yes/No |
School Stamp | Yes/No | Yes/No | Yes/No |
Ladders / Subjects Per Page (PDF only) | 4 Per Page | 2 Per Page | 1 Per Page |
Below are examples of what each one looks like on a page. Please bear in mind these are samples so the content is for this purpose only,
1 Per Page
2 Per Page
4 Per Page
With each template, you are not required to add the maximum of each item, but bear in mind there might be space on the page if you do not add two Next Steps for example. Similarly, if you do not write the maximum character count or do not include evidence where it is possible to, this will leave a space where the evidence would be.
In the below example, no 'Next Steps' have been added but Strengths have been. Therefore, the system has left the corresponding space (to Strengths) blank.
When you are using the 2 or 4 per page templates, where you have more or less than the maximum per page, the system will include the outstanding on one page and there might be a space. Below is an example of this.
4. Ability to include a 'School Stamp' on the final page of reports
Schools' increasingly want to add their own school stamp to Student Reports. We have added the option to upload a digital school 'stamp'. This is an image or icon (in specific file format .jpg .jpeg, .png) that can be added to the settings of student reports and will feature on the final page of all student reports (within a module, so EYFS or KS1+). Below is an example of how this might look.
The school stamp will ONLY appear on PDF versions of student reports.
How to Add a School Stamp
To add a school stamp to either EYFS or KS1+, navigate to Settings > Settings > Student Reports. On the left hand side, below the logo there will be a space for you to 'Upload Image', as shown below
Click 'Upload Image' and follow the onscreen prompts to add the image/stamp. Once added to the application, you will have the option to 'rotate' the image with regards to how it appears on the page. Other than delete/remove the image/stamp, no other editing options are available at this time.
5. How PDFs are generated
It has always been possible to bulk generate PDFs of student reports and this article will talk you through that process. It is also now possible to selectively generate PDFs of student reports, which is discussed in this article
If you have any further questions or feedback, do get in touch with our support team, who will be pleased or help or take feedback regarding the application.
Related Articles
Student Report: Create your Template (Admin User)
This is step 1 of the Student Reports: Admin user guide. Watch the video below and follow the steps in this guide to set up your student report templates today. If you are a Learning Ladders admin user, follow these steps to set up your school's ...Student Reports: Admin User Guide
Changing report format can be daunting for admin users, navigating high expectations from parents, senior leaders and teachers to implement seamless change. We've created this step by step guide to guide admin users from settings through to ...Student Reports: Publish Reports
Before publishing reports, teachers are required to follow steps 1-4 within the Student Reports: Teacher user guide. This includes how to access the student report dashboard, create new reports, edit draft reports and send reports to sign off. ...Student Reports: Teacher User Guide
Your school has chosen to use Learning Ladders student reports, an excellent next step to make your assessments work harder. We understand that using any new reports system for the first time can be daunting and you may be wondering how Learning ...Using Bulk Actions within Student Reports
Student Reports are a key aspect of any school and as schools increase in size and diversity, so does the requirement to perform an action on many reports at the same time. Within Learning Ladders this is recognised and we have provided two methods ...